How to Take Epic Photos as a Solo Traveler
Are you tired of your solo travel photos featuring only landscapes, monuments, and selfies?
I was. So, I decided to change that and experiment with techniques to capture epic shots while traveling solo.
Now, I’ll never go back to the “boring” photos again!
In this blog post, I’ll share my tried-and-tested tips on how to take epic photos as a solo traveler.
Use a Tripod
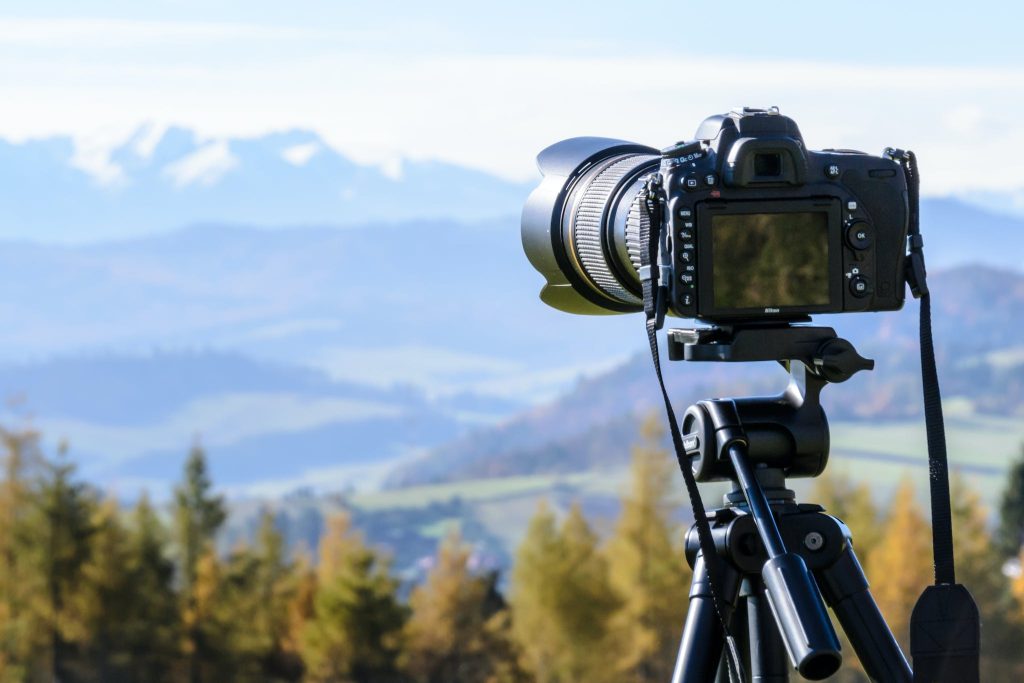
Honestly, I cannot emphasize this enough: a tripod is your best friend as a solo traveler.
When I first started traveling solo, I used to prop my camera or smartphone up against random objects half-heartedly and hope for the best.
The results were less than epic. Then, I invested in a good tripod, and I’m so glad I switched!
A tripod lets you set up your camera at the perfect angle and ensures stability for sharper and more impressive photos.
My personal favorite tripod is the Joby GorillaPod, which is flexible and lightweight making it perfect for on-the-go travelers like myself.
The GorillaPod’s bendable legs can wrap around any object, allowing for creative set-ups.
Trust me, this tripod is worth every cent!
Utilize Remote Shutter Release or Timers
One of the struggles of taking photos as a solo traveler is physically pressing the shutter button while stepping into the perfect pose.
Remote shutter release gadgets and built-in timer functions on cameras come to the rescue!
I remember when I first started using a remote shutter release, my photos went from awkward to amazing overnight.
Most camera brands have their own remote shutter release options.
But, if you’re using a smartphone, consider investing in a Bluetooth remote, like the one from CamKix. This handy little gadget has been a lifesaver on my solo trips, allowing me to capture epic shots with just a click.
Get Creative With Composition
As a solo traveler, you want to showcase the location and yourself in the most artistic way possible.
This is where the rule of thirds, leading lines, and patterns become your closest allies in capturing stunning shots.
I’ve learned that the rule of thirds is a simple, yet effective technique.
When you’re composing your shots, imagine a grid that divides your frame into nine equal rectangles
(note: many cameras and smartphones have a built-in option to display this grid).
Position yourself or the main focal point on one of the grid’s intersecting points, and you’ve got yourself an engaging and visually appealing photo.
Moreover, don’t shy away from including leading lines, such as roads, fences, or even natural formations like mountains.
These elements guide the viewer’s eye through the photo and often lead it to you, the subject, in a powerful and compelling way.
Experiment With Perspectives
One of the ways I keep my travel photos fresh is by experimenting with different perspectives.
Tired of your feet dangling from the edge of a cliff, or your silhouette against the sunset?
Try capturing an overhead shot, or crouch down and take the photo from a new vantage point.
Aerial photography has gained popularity in recent years, and with the advent of affordable, compact drones, you can now capture breathtaking views of your solo adventures.
I recently invested in a DJI Mavic Mini, and it has completely transformed my travel photography.
The drone’s ability to capture stunning landscapes from above provides a whole new perspective that you just can’t achieve from the ground.
Interact With Your Environment
One of the most engaging types of travel photos is when the traveler interacts with their surroundings.
Whether it’s gazing out over a canyon, walking through a bustling street market, or even just lounging in a hammock, these shots tell a story and add a human element to the scenery.
During a trip to Rome, I captured a photo of myself tossing a coin into the Trevi Fountain.
This not only depicted a classic Roman tradition but also added a sense of motion and life to the image.
Remember, the environment isn’t just a backdrop; it’s a character in your story. Engage with it!

Seek Out Unique Angles and Locations
Don’t just stick to the tourist hotspots for your photos.
Seek out unique angles and lesser-known locations for a truly epic photo. Sometimes, this means waking up for sunrise to capture a popular spot without the crowds, or exploring a city’s back alleys to find hidden gems.
In Lisbon, I found a little-known viewpoint that overlooked the entire city, away from the typical tourist spots.
The photos I captured there had a unique perspective of the city that most travelers don’t get to see.
Be Patient and Wait for the Right Moment
Great photography often requires patience. Wait for the right lighting, the right moment, or even the right weather conditions.
The magic often happens when you least expect it, but you need to be ready to capture it.
During a visit to Machu Picchu, I waited for hours for the fog to lift.
When it finally did, I had a few brief moments to capture the iconic site in all its glory, with no fog and fewer people around.
That photo remains one of my favorites.
Have Fun and Be Creative
Photography should be fun, especially when you’re traveling solo.
Don’t be afraid to try new things, make mistakes, and learn from them. Your solo travel photos are your memories, so make them epic in your own way.
Remember, the best part about solo travel photography is that there are no rules.
It’s all about capturing your journey and the incredible experiences along the way in a way that’s unique to you. So, grab your camera, hit the road, and start snapping some epic shots!
Essential Gear for Solo Travel Photography

Invest in the Right Gear
You need the right gear to take your photography game to the next level.
Trust me, I’ve tried different gadgets and devices on the market, and these are the tools I highly recommend:
- A reliable camera: It makes a big difference when you have a camera that can capture high-quality images. My top pick is the Sony Alpha a6400 because it’s lightweight, compact, and perfect for travelers.
- A versatile tripod: This is an absolute must-have for taking photos when you’re all by yourself. I’ve been using the Joby GorillaPod 3K Kit for years, and I wouldn’t trade it for the world. It’s flexible, can fit in my backpack, and gets the job done every time.
- A remote shutter release: You don’t want to be running back and forth between your camera and your pose, do you? That’s where a remote shutter release like the Wireless Camera Remote Control comes in. It’s a game-changer, trust me!

Master the Art of Composition
Now that you’re all geared up, let’s talk about composition. This is where the magic happens. To get those epic shots, you need to:
- Find interesting backdrops: Look for eye-catching scenes that will serve as the perfect backdrop for your photos. It’s all about discovering those hidden gems!
- Use the rule of thirds: You know the drill — imagine your frame divided into nine equal parts, and place the main subject along those lines or their intersections. It’ll make your shots more balanced and visually appealing.
- Experiment with angles: Don’t be afraid to get creative with your angles. Climb that hill, lay on the ground, or find an elevated spot to change your perspective.
Once you have the right gear, it’s time to learn some basic composition techniques.
Trust me, it adds depth and interest to your photos!
I started by learning the Rule of Thirds. Imagine your photo divided into nine equal sections by two horizontal and two vertical lines.
Placing your subject along these lines or at their intersections creates a visually engaging image.
Another technique I practice is leading lines, where natural or architectural lines in the frame guide the viewer’s eye to the subject.
When I explored the alleyways of Prague, I captured stunning images by using the cobblestone streets and historic bridges as leading lines.
Play with Lighting
Lighting can make or break your photos, so don’t underestimate its power! Here are some tips to help you find the best lighting for your shots:
- The golden hour: It’s no secret that the golden hour (the time just after sunrise and just before sunset) is when the lighting is soft, warm, and just downright magical. Make the most of it!
- Overcast days: Cloudy skies can actually be your friend when it comes to taking photos. The clouds act as a natural diffuser, offering a softer, more even light.
- Be mindful of shadows: Keep an eye on where the light is coming from and aim to avoid harsh, unflattering shadows on your face.
Discover the Magic of Editing
Post-processing is a game-changer!
I always wondered how people got those vibrant Instagram-worthy travel photos until I discovered editing apps like Adobe Lightroom.
Lightroom allows me to adjust the exposure, colors, and contrast in my photos to make them truly stand out.
There are countless presets and tutorials available online that can help you achieve the look you’re aiming for.
Scout Instagrammable Locations
Research goes a long way! Before traveling to a new destination, I spend some time on Instagram, Pinterest, and travel blogs scouting the most photogenic spots.
Save these locations on Google Maps and plan a photography walk to visit them all.
I also recommend chatting with locals to find unique, off-the-beaten-path locations for those one-of-a-kind shots.
You never know what hidden gems you might come across!
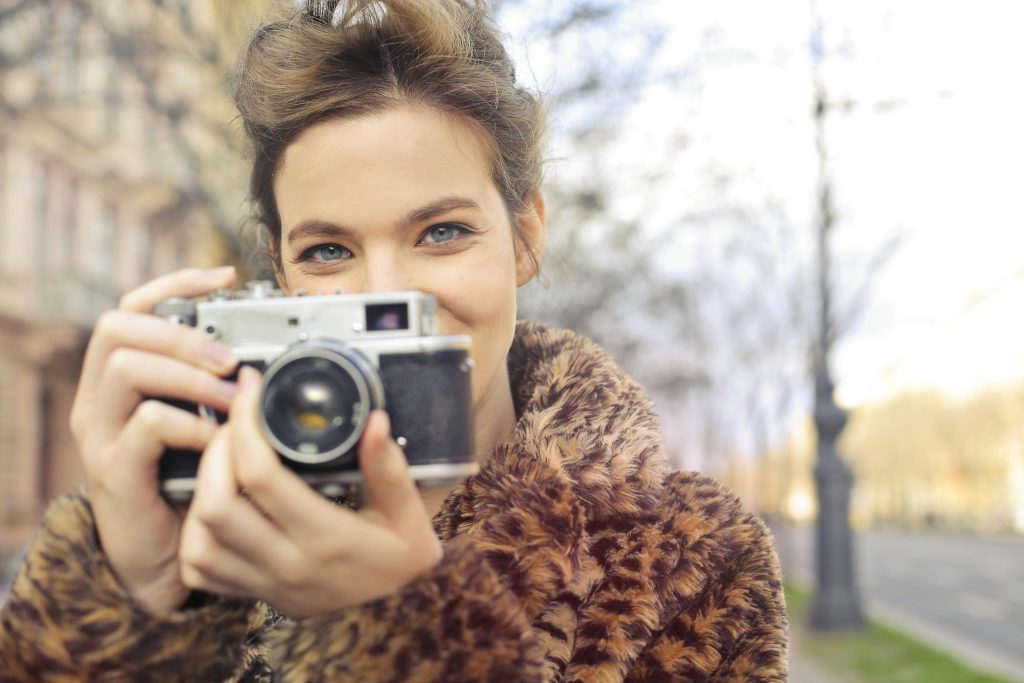
As someone who loves solo travel, I understand the struggle of capturing those picture-perfect moments when you’re all alone.
But with these smart tips and practical tools, you too can take epic photos and cherish your solo travel memories forever.


